Written by Vanesa Ruvalcaba
It’s the second month of 2025, and if you’re like most gardeners, you’re just itching to get your hands into the dirt. Plants reproduce and grow in a variety of ways, but today we will be focusing on an introduction to seed starting.
In this post, you’ll find helpful information, commonly used terms, as well as tips to make those seeds sprout!
First, the terms you need to know:
- Sow: seeds going into the ground (whether scattered along surface or set into seed trays)
- Germinate: the process of a seed growing into a sprout
- Cell: a small container a seed can be germinated in (most applicable to starting seeds indoors)
- Transplant: moving a sprout from its original home to a different location (indoors to outdoors or potting up to a bigger container)
Familiarizing yourself with these terms will help when reviewing the information found on the backs of your seed packets. This leads us to our first tip — read the seed packet information. The info you’ll find there is backed by decades of hands-on growing experience. Learn from the experts who came before us and heed the packet’s advice!
Once you’ve reviewed the information, get to know the seed you’re planting. No matter what you’re growing, each specific plant has its own preference when it comes to growing conditions. Some may prefer more humidity or have particular soil requirements. A quick brush up on the plant you’re working with will do wonders. This is not to say you must meet all conditions for seeds to do well. Plants are versatile after all. However, if you’re seeing leggy plants or poor seed yields, this might be why.
Now that we’ve got some general knowledge, it’s time to decide, start indoors or outdoors? Both environments carry their own benefits and drawbacks. If you’re unsure where to grow, consider the seeds, outdoor temperature, and lighting conditions. Plants with tender roots that hate to be transplanted should be grown outdoors. Plants with slow root development such as tomatoes or peppers should be started indoors so they’ll be able to reach maturity within that year.
If you’re starting outdoors, the first thing you want to do is note last frost date! Sowing seeds too early will result in total crop failure since frost is the killer of sprouts! The date will vary depending on your specific location. For outdoor sowing, have patience with the process and ensure the location meets required growing conditions. Here are some helpful questions to consider: Will there be enough room when the plant reaches maturity? Will it provide the necessary lighting conditions throughout the year? Was anything planted in the spot the previous year? This is especially important when growing vegetables as they can deplete nutrients from the soil, so make sure to always rotate your crops. For lighting conditions, a good tool to use is suncalc.org which provides an interactive map showing the sun’s path for the day you input.
Another thing to follow is soil planting depth and whether you need to create dormancy conditions for the seed. The specified depth will let you know the lighting conditions needed for germination. More depth means little or no light required. Now, knee-jerk reaction to me telling you, “Put the seeds in the fridge” or “Scratch that seed” or even “Soak that seed,” might be, “Why would I ever want to do that?” Some seeds need environmental cues to germinate. Native plants that experience winter often go through dormancy and require a period of cold to begin the germination process, so don’t hesitate to throw those seeds in the fridge. Other seeds will need help breaking through their tough seed coating either through physical agitation or by soaking the seeds. Only with that little bit of help will they be able to germinate. Again, knowing your seeds and their specific requirements is essential!
As always, take care not to overwater. Too much water can lead to damping off, a disease that occurs when there’s a lack of airflow within the soil. Very tragic indeed, but easy to avoid if you’re careful with watering. Also, watch out for slugs, snails, and other pests. The tender little shoots are an easy meal for slugs, and they will not hesitate to decimate your veggie crops before the plants even see maturity. There’s lots of natural remedies including beer traps, eggshells, and copper tape.
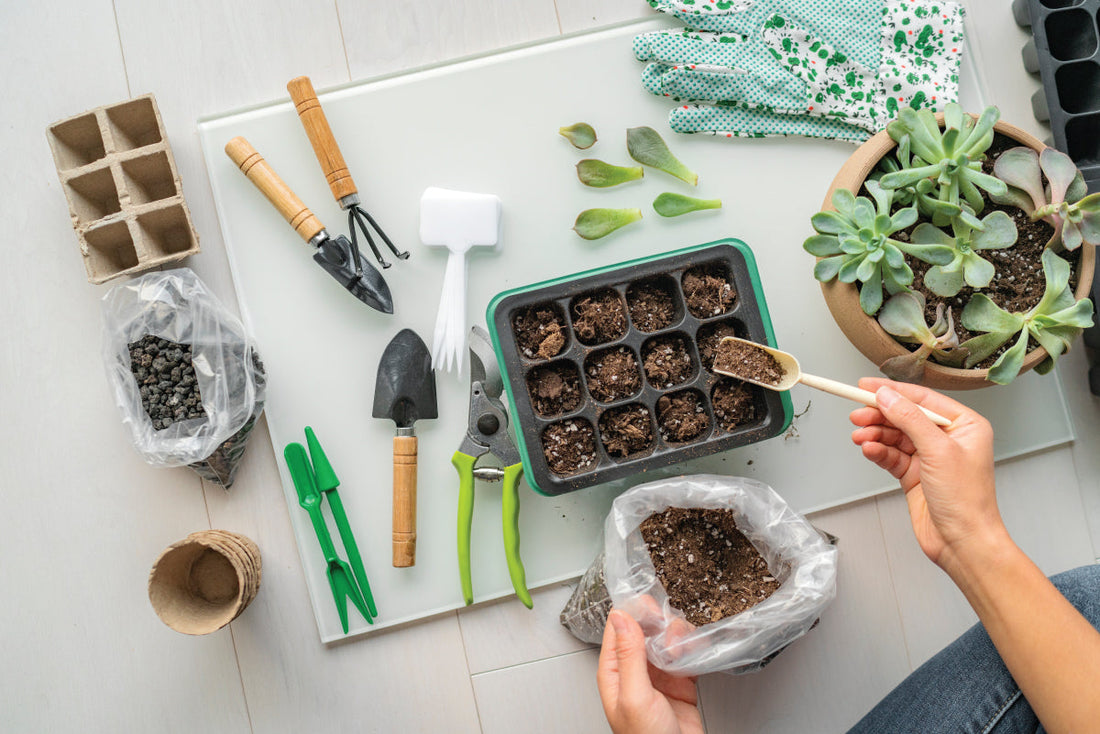
Starting indoors will vary depending on what you’re planting, but a good rule of thumb is six weeks before the last frost. Be sure to use a seed starter mix. They’re formulated for seeds and will have all the nutrients necessary to help them sprout. You’ll also need to start your seeds in the proper container. If it’s planted in something too big, the seed will struggle and come out lanky because it can’t efficiently absorb nutrients or water. Seed starter trays are a reliable way to go, but if you’re reusing trays, make sure to wash and sterilize them thoroughly to prevent disease. How many seeds go into a single cell will depend on seed size. For ones as small as a period at the end of a sentence, you’ll want to put a cluster into a single cell. For bigger seeds, two in a cell is recommended. Make sure to set your trays in a warm spot away from any drafts or heating vents. Check them daily if possible. Once your seeds have sprouted and established in the trays, you’ll want to give them more breathing time if your tray is enclosed. Keeping them enclosed for too long can lead to rotting.
If your sprouts are established, it may be time to consider thinning. The seed packets will note if this is necessary. Thinning is, to put it bluntly, survival of the fittest. For seed clusters, you thin them out by plucking the weaker sprouts. This reduces competition and allows your stronger sprouts more access to nutrients. You can also thin them out by cutting the sprouts back to a certain height. Once your sprouts have reached a certain size, you’ll need to transplant them into either a bigger container or outdoors if conditions are favorable. This step is very important since your sprouts can’t grow to full size without ample room. You’ll find transplant information on your seed packet, but harden off your seeds first. Leave your sprouts outdoors for a few hours at a time about a week before you want to set them outside. This will help prevent shock and death during the transplant process.
Gardening is a process of trial and error, and we at Farmington Gardens know it can be intimidating when first trying your hand at it. Don’t worry! You can drop a comment on blog posts for further clarification or reach out to us on our website. We also have Instagram and Facebook where we make informational posts about plants of the week and gardening tips. No matter where you are on your garden journey, Farmington Gardens is here to support you.